
Add Text and Marks to the Document
The Add Text feature provides the ability to insert content directly into a document, making it a useful tool for completing non-interactive PDF forms. It ensures a professional appearance by eliminating the need to print and manually fill out forms. In addition to text input, the feature includes marking tools—crossmarks, checkmarks, and dots—enabling users to mark selections in checkboxes, option fields, or other form elements with precision.
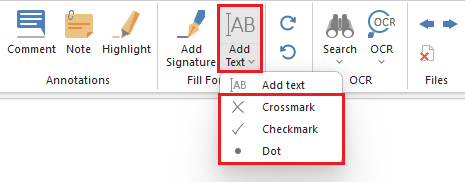
To add text or a mark to the document, click the Add Text dropdown on the Home toolbar and select the desired option.
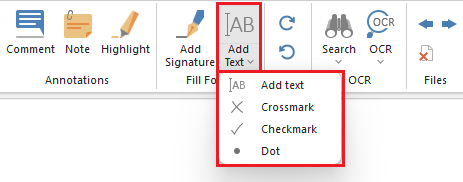
Add Text to the Document
To add text to the currently opened document, click the Add Text option on the Home toolbar. If the Add Text button is not already active, open the dropdown menu and select the Add Text option.
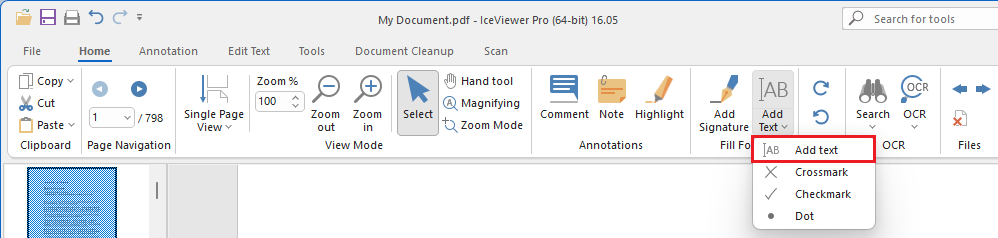
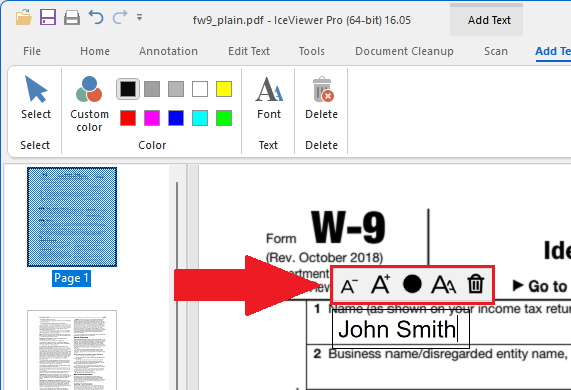
Click the location within the document where the text should be added and type the text. To edit an already placed text, click on the text and make the necessary changes. Please note, once the document is saved, the added text will be permanently burned in and will no longer be editable.
Font
The font size can be adjusted using the Increase Text and Decrease Text buttons on the floating menu.

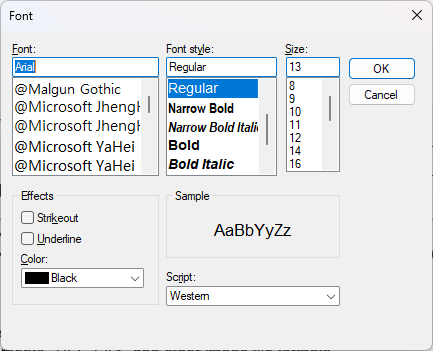
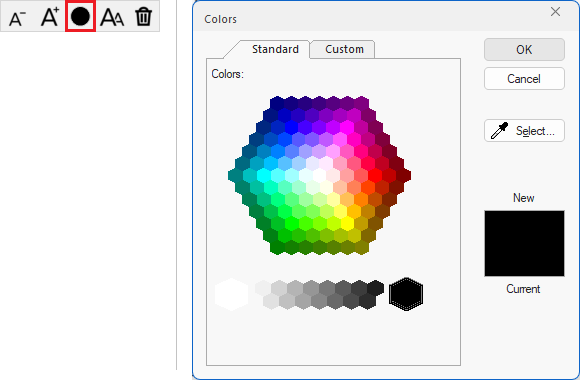
To customize the font family, style, size, and color, click the Font button on the floating menu and configure the font on the appearing Font window. Alternatively, the user can click the Font button on the Add Text ribbon.

In the Font window, the user can customize the font family, style, size, and text color. The font family can be set to any Windows font installed on the computer.
Color
To change the text color, click the Color button on the floating menu and select a color from the appearing Colors window. Alternatively, predefined colors can be selected from the Add Text ribbon, or a custom color can be chosen by clicking the Custom Color button.
Delete
To remove added text, please click on the Delete button on the floating menu or click on the Delete button on the Add Text ribbon.

Add Marks to the Document
To place a crossmark, checkmark, or dot, select the desired option from the Add Text dropdown menu.
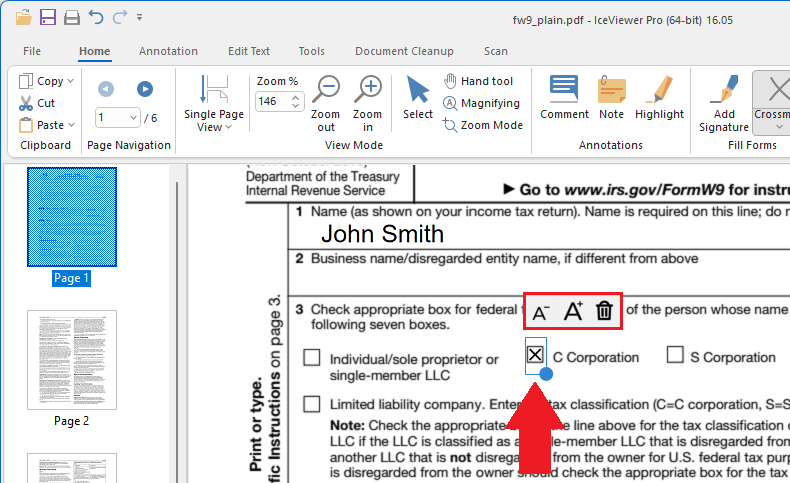
Click the location within the document where the mark should be placed. Already placed marks can be repositioned or resized at any time using the Selection tool. Please note, once the document is saved, the added marks are permanently burned in and can no longer be modified.
Size
The size of a placed mark can be adjusted using the Increase and Decrease buttons on the floating menu. Alternatively, dragging the blue dot at the bottom right corner of the selection allows manual resizing.

Delete
To remove a placed mark, click to select it, then click the Delete button on the floating menu or press the Delete key on the keyboard.
