Under the Page Layout tab, users can find page settings options to configure paper size, orientation, or resolution, and features to trim, crop the pages of the printed document, or split the documents after a specific number of pages.
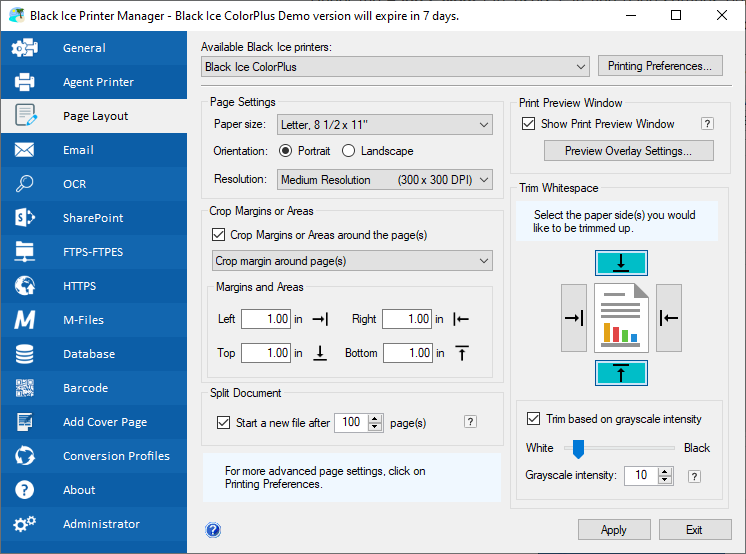
Page Settings
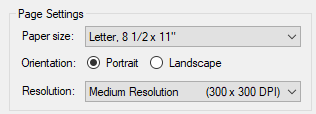
Paper size – The Black Ice Printer Driver supports a total of 177 predefined paper sizes, including large format paper sizes, and label printer paper sizes. Additionally, Black Ice Printer Drivers allow unique paper sizes to be defined in pixels, mm, or inches. The page sizes range from envelopes to large E-size pages. To read more about how to add, delete or edit paper sizes, please refer to the Add or Edit Custom Paper Sizes section of the manual.
Orientation – Users can specify the default page orientation (Portrait or Landscape). If landscape orientation is selected, the driver reports landscape paper orientation to the printing application, but the image on the page is rotated 90 degrees so that the actual saved image is still in portrait orientation, the same as when printing in landscape mode. This makes it possible to fax a page printed in landscape orientation.
Resolution – Users can set the default resolution (typically measured in dots per inch, or DPI) for printing documents.
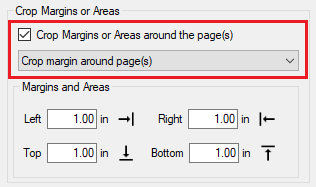
Crop Margins or Areas
One can set up the Printer Driver to crop the margins on each page. To crop the margins, enable the Crop Margins or Areas around the page(s)? checkbox and select Crop margin around page(s), then enter the size of the margins in inches you would like to be cropped.
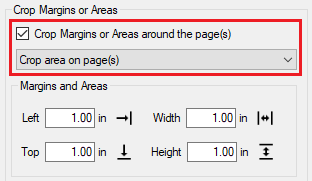
The Printer Driver also can crop the document to an area. To crop to an area, enable the Crop Margins or Areas around the page(s) checkbox and select the Crop area around page(s) option, then enter the starting positions, the width, and heights of the area to be cropped.
Printer Driver Trim and Crop Limitations:
The Trim Whitespace and Crop features do not work with the following Printer Driver features:
- Watermark
- Page Per Sheet (N-up)
- Redirect Printing
Split Document
One can set up the Printer Driver to split the document after a specific number of pages.

For example, using the configuration as set on the picture below will result in the printed document being split at every 5 pages. When printing a document with 25 pages, the printing will result in 5 documents, each with 5 pages.
When splitting documents, the file naming will be the following:
- DocumentName_0001.TIFF (1 - 5 pages)
- DocumentName_0002.TIFF (6 - 10 pages)
- DocumentName_0003.TIFF (11 - 15 pages)
- DocumentName_0004.TIFF (16 - 20 pages)
- DocumentName_0005.TIFF (21 - 25 pages)
Printer Driver Split Limitations:
The Split feature has the following limitation when used with other Printer Driver features:
- Upload document to FTP
The Printer Driver uploads only the first output file to the FTP. - Upload document to SharePoint
The Printer Driver uploads only the first output file to SharePoint. - Upload document to Database
The Printer Driver uploads only the first output file to the Database. - Upload document to M-Files
The Printer Driver uploads only the first output file to the M-Files server. - Send printed document in email
The Printer Driver sends only the first output file in email. - Generate output in memory
All pages will be in one output file in memory without split. - Open the printed document using the default viewer
The Printer Driver opens only the first output file with the default viewer. - Start application
Only the first output file is passed in the Output Filename parameter. - Redirect Printing
All pages will be printed as one output file on the redirected printer and the file will not be split.
Print Preview Window
The Black Ice Printer Driver has a built-in Preview Window enabling users to inspect their documents before printing. The Preview Window can also be configured to open a specified overlay image that fits on the printed document, ensuring the user that the printed document has the required layout.
To read more, please see the see the Print Preview webpage.
Trim Whitespace
The Trim whitespace feature is designed for the Oil and Gas Drilling industry for converting well logs to TIFF or PDF. Each Oil and Gas well log has a different length and printing to the same long page can result in a large white space on the bottom of the page. The Trim Whitespace option will remove the unwanted empty white area.
To trim the whitespace around each page, click on the side/direction(s) of the document to be trimmed up.
For example, to trim the whitespace from the top and bottom of the document, toggle the buttons above and below the document icon, as on the following image:

To trim based on the grayscale intensity, enable the Trim based on grayscale intensity checkbox, and set the intensity.
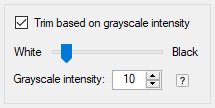
For example, if the grayscale intensity is set to 10, then the document will be trimmed up to the first occurrence of a 10% black pixel (very light gray, but not completely white pixel).
For example, if the grayscale intensity is set to 100, then the document will be trimmed up to the first completely black pixel.