Sending a fax:
Receiving a fax
Sending a fax:

Preparing a document for faxing:
3. The image will be opened up and displayed in the ColorFax application.
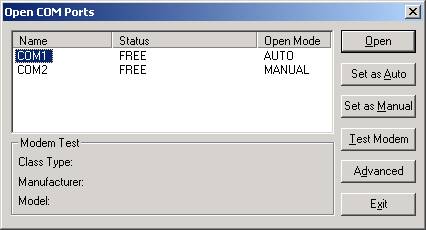
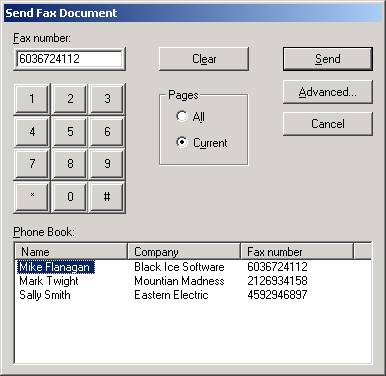
4. Select “Fax" menu item and select “Send Image". The following dialog box will appear:

The Fax Manager window shows the fax number of the transmission and the status of the transmission.
5. To send another fax, repeat steps 2-4.
3. The image will be opened up and displayed in the ColorFax application.
4. Select “Fax" menu item and select “Send Image". The following dialog box will appear:

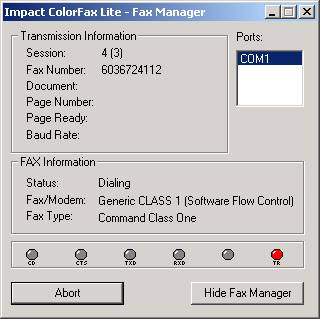
The Fax Manager window shows the fax number of the transmission and the status of the transmission.
5. To send another fax, repeat steps 2-4.
Receiving a Fax
Impact ColorFax will receive a fax if the parameters below are met.
Important: Impact ColorFax must be running in order to receive a fax.
Please note: The "Receive" menu item under the "Fax" menu is not used and should be disregarded.
Make sure the program is running: