
Edit Workflow Settings
To configure or modify an existing Workflow, open the Workflows view, select a Workflow from the list, and click the Edit button.
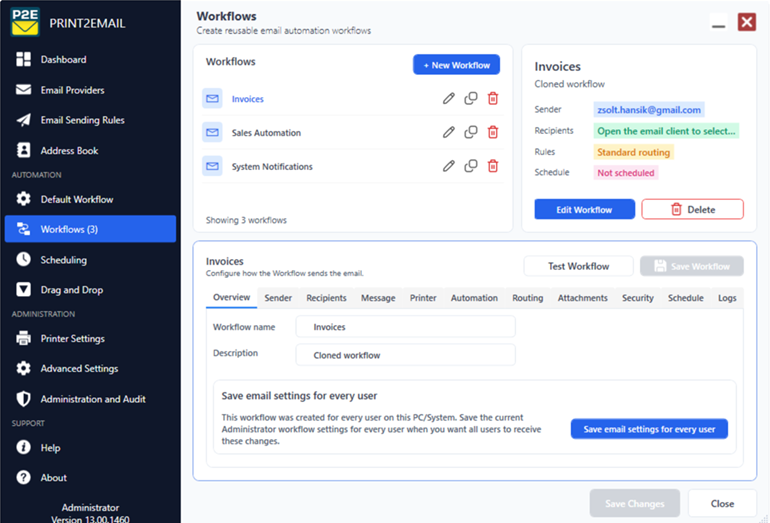
The Workflow Editor appears below the Workflow list and summary panel.
Each Workflow can be configured separately using the editor tabs, including Sender, Recipients, Message, Printer, Automation, Routing, Attachments, Security, Schedule, and Logs.
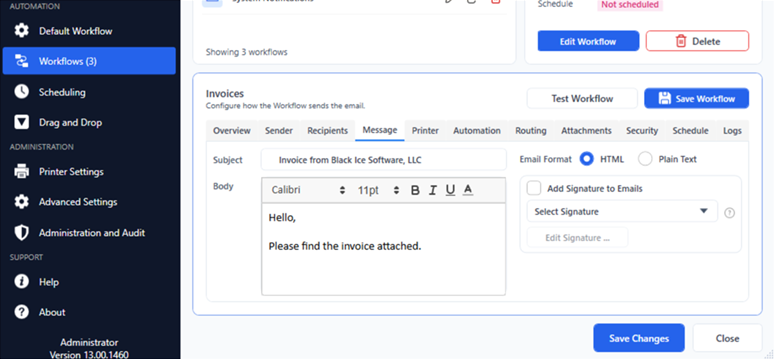
When finished configuring the Workflow, click Save Workflow to apply the changes.
Editing Workflow Settings as an Administrator
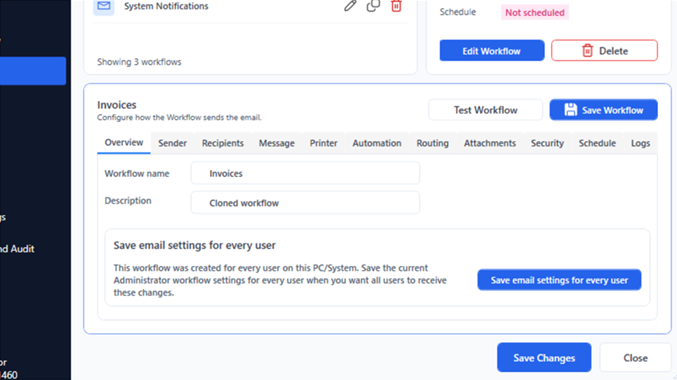
When editing a Workflow that was created for every user, administrators can save the Workflow configuration for every user on the computer.
Use the Save settings for every user button in the Workflow Overview tab to apply the selected Workflow settings globally.
Printer Settings
To configure the printer-related settings of a Workflow, select the Workflow, click Edit, and open the Printer tab in the Workflow Editor.
The Printer tab contains the most commonly used printer settings, including File Format, Output Directory, and Overwrite existing files.
For advanced printer configuration, click Open Printer Settings to open the full Printing Preferences window, where additional options such as Watermark, Annotation, Header, Footer, File Format, and other printer-specific settings can be configured.
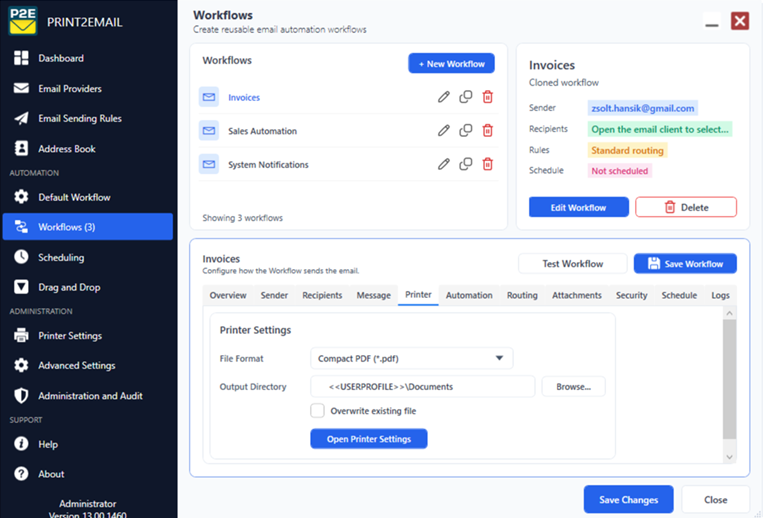
NOTE: Each Workflow can have its own printer settings.