Sharing out the printer to client systems requires Administrative privileges since the August 2021 Windows security updates.
To install or update the Black Ice printer driver package on the client computer with SCCM, follow the instructions below to set up the printer sharing correctly.
The instruction below uses the “ColorPlus X1 Server” printer driver as an example but the steps below apply to every Black Ice printer driver.
Terminology:
Host: the host is where the base printer driver is installed.
Client: The client is where the printer driver is shared out to.
Printer Driver package install/update Process:
Install the Black Ice Virtual printer driver on the Host.
Copy the driver package from the Print Server to any directory on the client (e.g.: c:\driver\) or shared directory (e.g.: \\server\driver\).
The driver package can be found on the server, in the folder where Printer Driver is installed.
By default, the printer driver name is in the folder name path:
c:\Program Files\Black Ice Software LLC\ColorPlus X1 Server\Driver\
Example for Install the Printer Driver with CMD script:
In that same folder where the Black Ice driver files have been copied, create an install.cmd text file with Notepad that contains the following syntax:
pnputil.exe /add-driver "%~dp0BlackIceColorPlusX1Server.inf" /install
Example for Install the Printer Driver with PowerShell script:
In that same folder where the Black Ice driver files have been copied, create an install.ps1 text file with Notepad that contains the following syntax:
Start-Process pnputil.exe -argumentlist "-a .\ BlackIceColorPlusX1Server.inf " -Wait
Add-PrinterDriver -name "Black Ice ColorPlus Driver TS"
Example for uninstall the Printer Driver with PowerShell script:
In that same folder where the Black Ice driver files have been copied, create an Uninstall.ps1 text file with Notepad that contains the following syntax:
Start-Process pnputil.exe -argumentlist "-a .\ BlackIceColorPlusX1Server.inf " -Wait
Remove-PrinterDriver-name "Black Ice ColorPlus Driver TS"
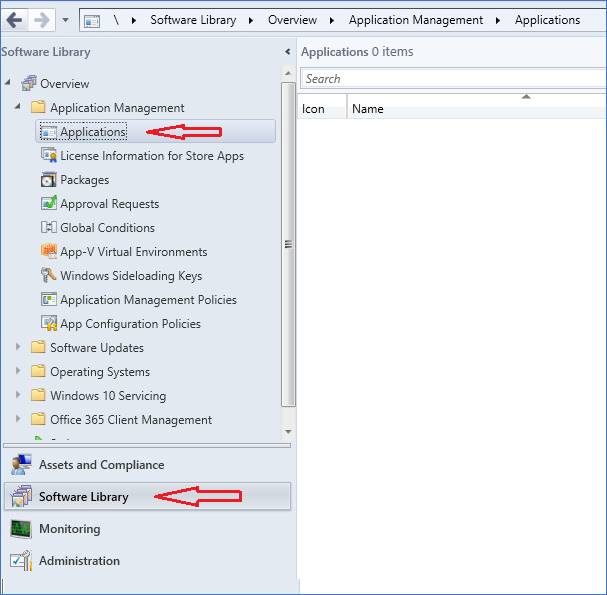
Open the SCCM and please go to the Software Library workspace. Expand Application Management, and then select the Applications node.
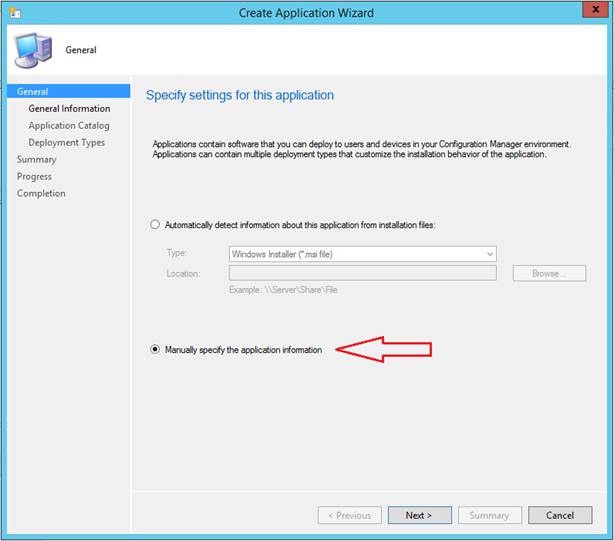
Right-click on the Application and create a new application using the “Manually specify the application information” option as the screenshots below describe:
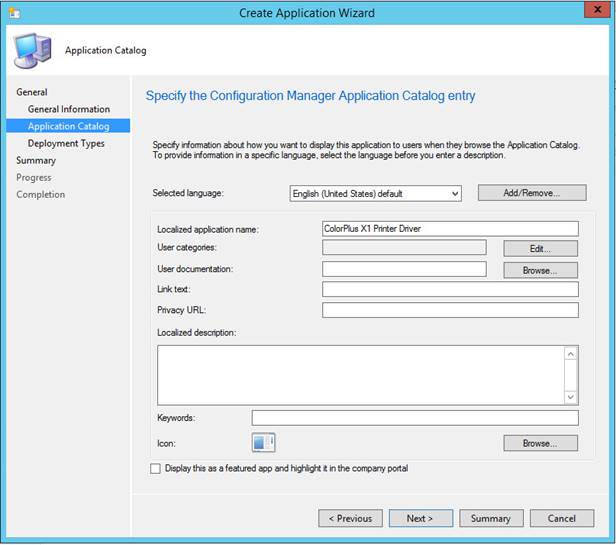
Type the driver name and driver version, the Driver version can be found in the .INF file.
The ColorPlus X1 Server printer driver does not use the Application Catalog.
Select the “Script installer” installation method or “Type”.
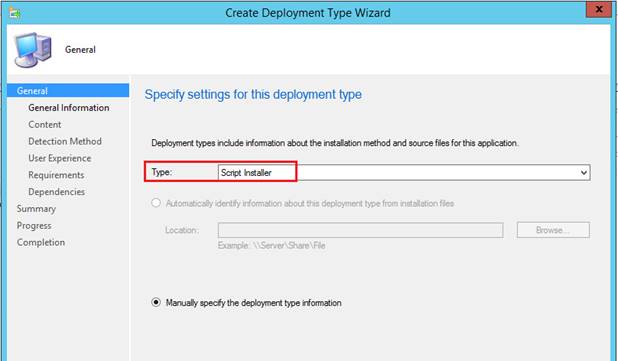
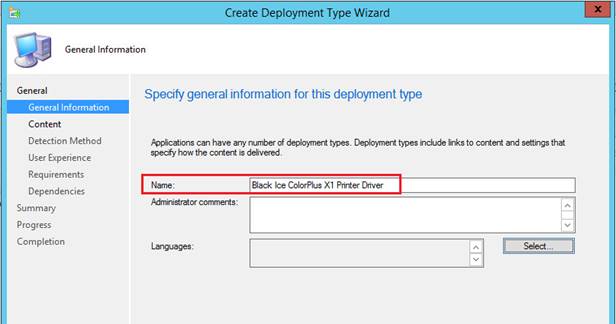
Type the driver name that will be used on the client in the “Name” field.
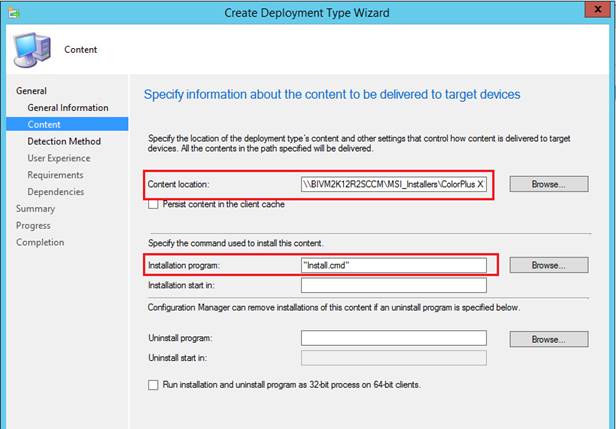
Enter the package source directory with the full path into the “Content location“ and enter the “Install.cmd” as the “Installation program.”
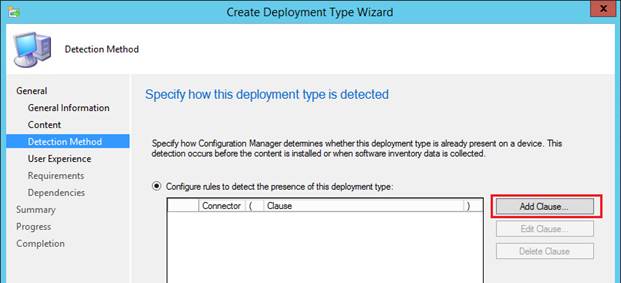
Under the Content menu please select “Detection Method”, and select “Add Clause”:
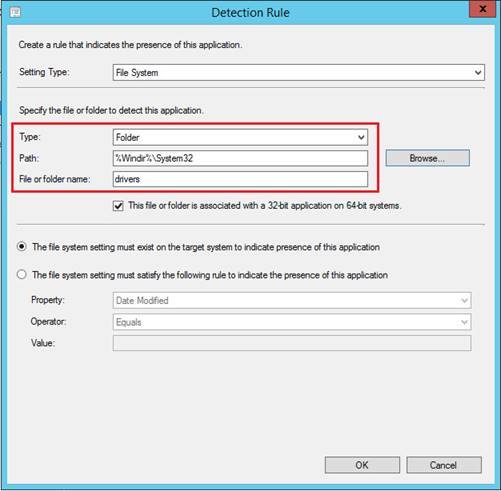
Select the “Folder” as Type and browse to the folder “c:\Windows\System32\drivers\“:
Select the “Install for System” option from the “Installation behavior” as displayed below:
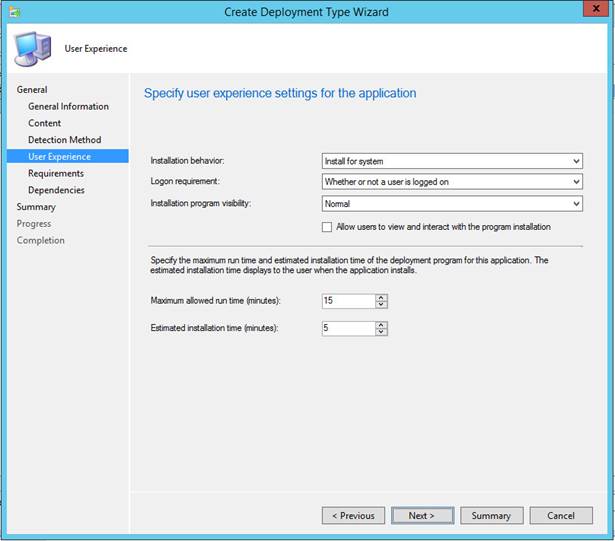
Then select Next until the wizard is finished.
The SCCM deployment is now ready and when next time users log into the system the driver will be installed or updated for the user.