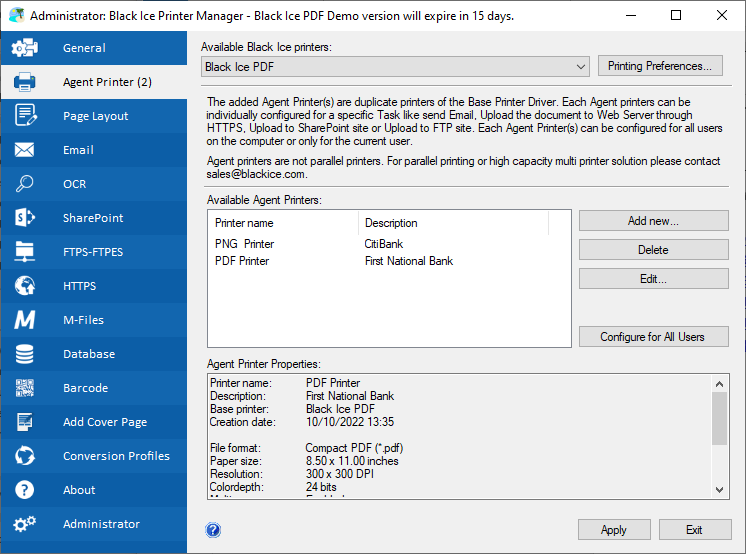
In the Printer Manager under Agent Printers > Available Agent Printers one can see the list of the already created Agent Printers.
Highlight an Agent Printer to view the printer’s properties, modify, or delete printer. A quick overview of all Agent Printer’s settings is available in the “Agent Printer Properties” section.
To edit the Agent Printer name or description, click on Edit… button. To change the Agent Printer Preferences, click on the Configure for All Users button or click on Add New… button to add a new Agent Printer.
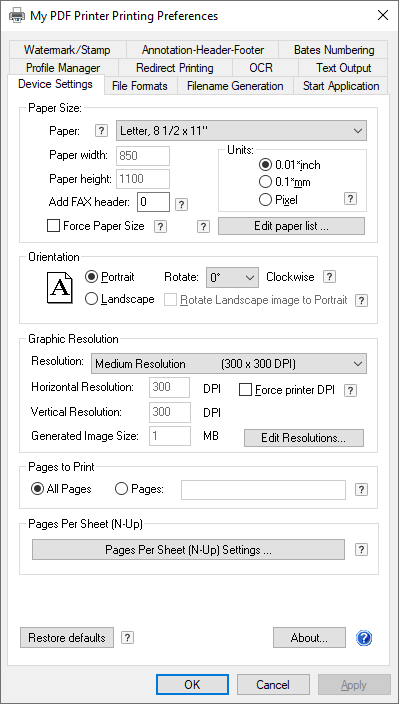
Alternatively, one can find and change the created Agent Printers in Control Panel > Printers and Devices > right click on the base printer of the Agent Printers and hover under Printing Preferences.
Changing the Agent Printers in Printer Manager
Please note: On Windows 11/10 and Windows 2025/2022/2019/2016/2012 the following window will come up when you try to add, edit, or delete an Agent Printer:

This is due to the User Account Control (UAC) technology and security infrastructure introduced in Windows 11, 10 and Windows 2025/2022/2019/2016/2012. On these operating systems you will need to have full elevation rights to add, edit or delete an Agent Printer. Please restart the Black Ice Printer Manager using the ‘Run as administrator’ option. (Right click on the Printer Manager icon on your desktop, and choose ‘Run as administrator’ and Click Yes on the UAC window.)
