Users can configure the Black Ice Printer Drivers to use the Bates Numbering as file name.
In order to add bates numbering as custom filename, users need to follow some simple step to configure the printer driver:
On Windows 11 or Windows Server 2025 systems navigate to Settings > Bluetooth & devices > Printers & scanners > Click on the Printer > Printer properties > Advanced > Printing Defaults > Bates Numbering tab.
On Windows 10, Windows Server 2022 or older systems navigate to Control Panel > Devices and Printers > Right-click on the printer > Printer Properties > Advanced > Printing Defaults > Bates Numbering tab.
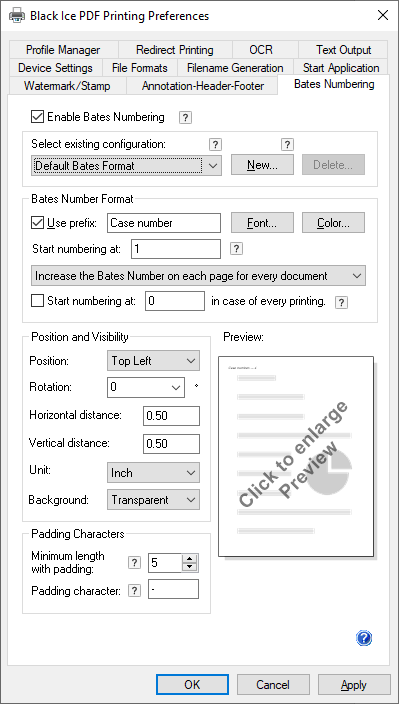
Check the Enable Bates Numbering option. Additional settings can be done in the Bates Number Format section. The Preview Bates Numbering section shows how the bates numbering with the current settings will look like.
Go to the Filename Generation tab and disable (uncheck) the Enable Save As Option.
Set the Black Ice Printer Driver Filename Generation Method to Custom file naming.
Click on the Configure… button.

Both Optional Fields can be set to display Bates Number. The Preview section shows, how the custom file name with the current settings will look like.
Once satisfied with the settings, press OK.
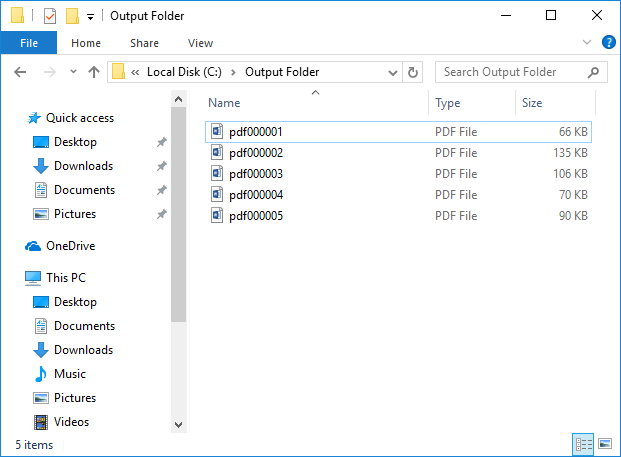
The printed documents’ names and the output folder depend on the configuration used during printing.