Black Ice Printer Drivers can be shared over HTTP with IPP (Internet Printing Protocol) as any regular physical printer.
A shared network printer has many advantages in today’s office. Shared network printers are quite simple to set up and very easy to use once configured. Some of the primary benefits include:
Saving Time: Administrators only have to install the printer driver on one computer. Once installed, it can be shared with only a few clicks and can be used on the entire office network.
Less Maintenance: You only have to maintenance one installed printer, instead of troubleshooting various installed virtual printers on every office computer.
Agent Printers for Common Tasks: Administrators can preconfigure and share Agent Printers, letting employees to minimize the amount of time consumed by setting up the printers each time.
Better Administration: Every printed document will be gathered on one centralized computer, allowing Administrators to easily view and process the documents.
In order to share a Black Ice Printer Driver over HTTP, please follow the instructions below:
The Host computer (the computer where the printer is shared) must have a Windows Server operating system installed.
Share the Black Ice Printer Driver on the Host computer, based on the instructions in the Printer Sharing section.
1.) Install the Internet Printing Server Role
Install the Internet Printing Server Role on the Host Server computer and make sure that every required component is also installed for IPP Printing.
NOTE: The Internet Printing Server Role will set up a webpage over HTTP protocol. Other web server services (such as IIS or Apache) can interfere with accessing the Internet Printing Server webpage, therefore we recommend installing the Internet Printing Server Role on a server computer where no other web server services are running.
2.) Enable Internet Printing Client on the Client
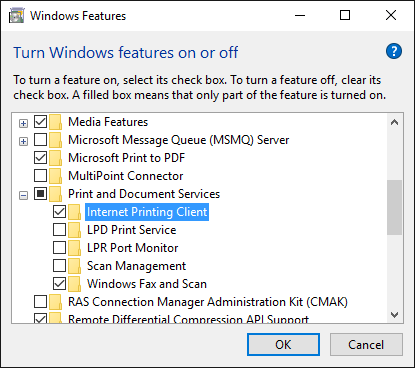
Once the Internet Printing Server Role is installed on the Host, install the Internet Printing Client feature on the Client computers, under Control Panel > Programs > Turn Windows features on or off.
To install the feature, make sure that the Print and Document Services > Internet Printing Client is checked, and click on the OK button.
3.) Add the Printers through the browser
Once the Internet Printing Roles are installed, and the Printer Driver is shared and configured on the server, you can connect and print to the Printer Driver through HTTP protocol, by typing the http://servername/printers into the browser on the client. Currently, Internet Explorer and Microsoft Edge with Internet Explorer Mode is the two supported browsers.
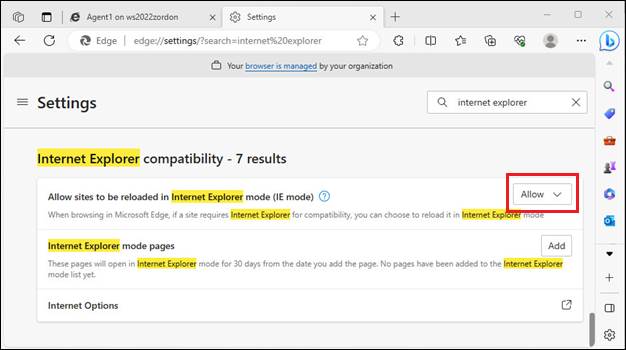
When accessing the printers from Microsoft Edge, please Allow the “Allow site to be reloaded in Internet Explorer mode (IE mode)” option under Settings > Internet Explorer compatibility section:
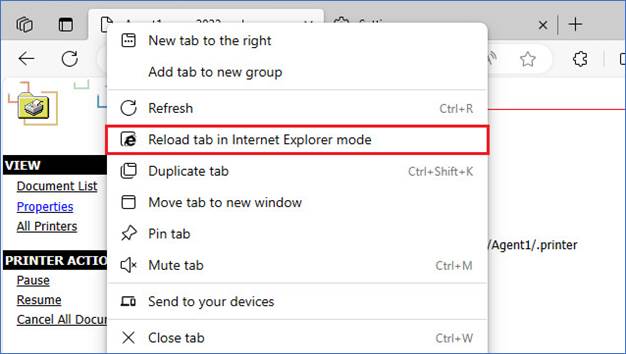
Also, please right-click on the page tab, and Reload the tab in Internet Explorer mode:

When experiencing problem accessing the printers, please make sure that the Printer Sharing on the server is enabled under Control Panel > Network and Sharing Center > Advanced sharing settings.
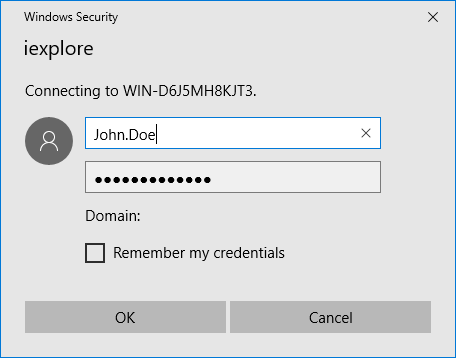
The system may prompt to enter username and password to access to the shared printers. Please enter a username which has privilege to access the shared printers on the server.

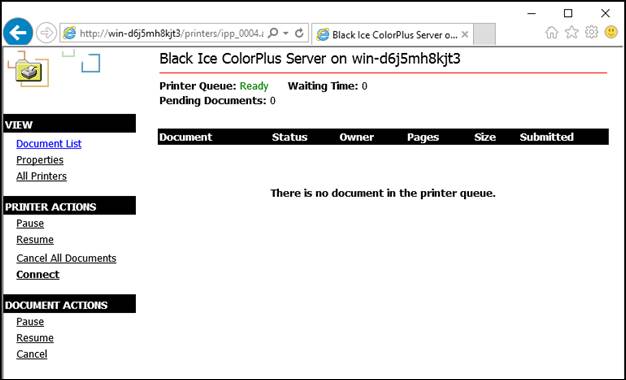
The browser displays the available printers on the server.
Internet Explorer Intranet warning
NOTE: If you receive any warning message about the Intranet setting are turned off, then please enable the Intranet settings.
In case you cannot see the Connect option on the left-menu, go to the Internet Explorer > Internet Options > Security > Internet and change the Security level to Medium, and Disable the Protected Mode.

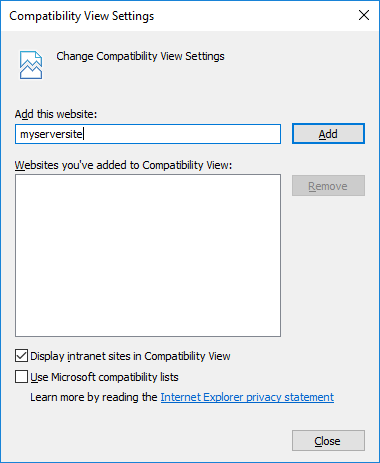
Also, in Internet Explorer > Compatibility View settings

Add the website to the Compatibility View list.
Select the Black Ice Server printer, and click on the Connect option, and proceed with the driver installation in order to add the Printer to the client computer.
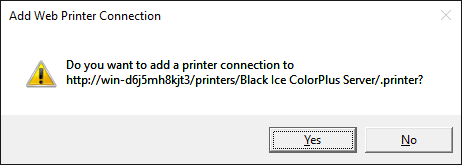
Click Yes on the warning dialog to confirm the shared printer installation.
Enter a username and password to access to the printer. The user must have permission to access and add the shared printer to the system.

On the appearing window, confirm the Printer Driver installation by clicking on the Install driver button.

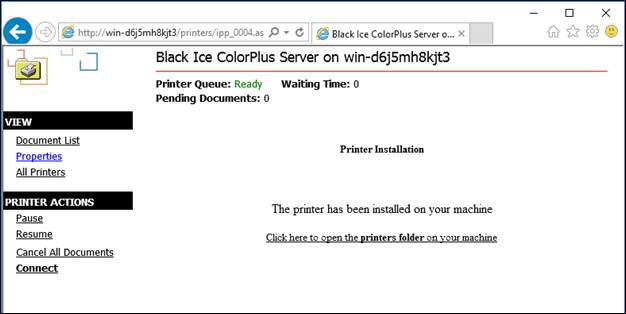
Wait until the printer installation finishes. The state of the printer installation can be seen in the internet browser.
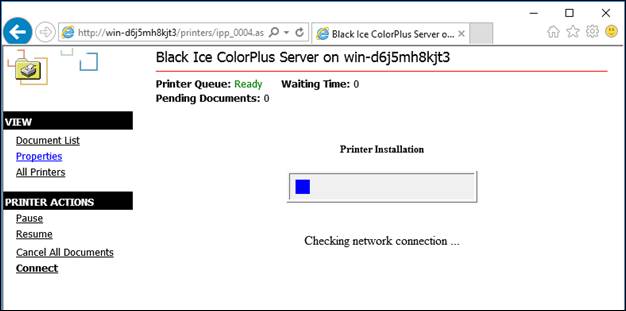
Once the printer installation is finished, the following message appears:
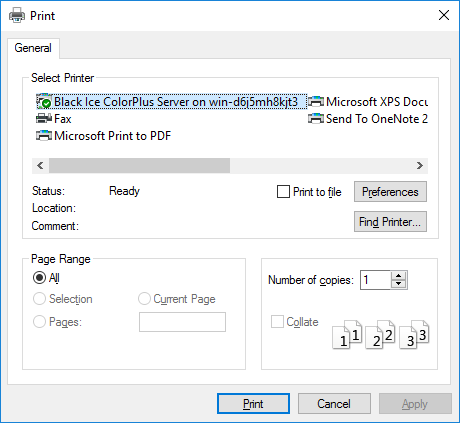
4.) Print to the newly added printer
Once the driver installation is finished, the printer is added to the client, and one can print to the Printer Driver.
The Printer Driver will automatically convert the received documents to the configured file format, into the specified directory on the server. For more information about how to configure the output directory of the shared Printer Driver, please refer to the Configuring output directory for shared printers on the Host.
If one experiencing any problem while trying to install the printer, please check the connection and privileges by trying to access the printer through the Windows Explorer, by browsing the printer through the network, for example: \\servername\