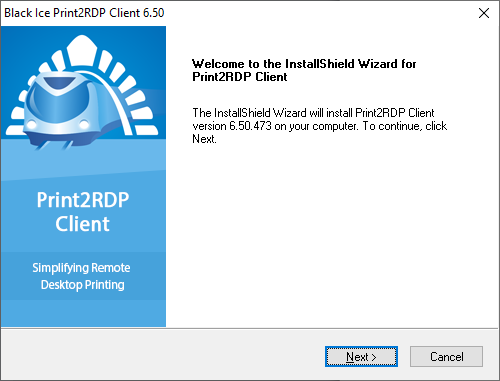
Run Print2RDP_Client.exe
Click Next to start the installation of the Print2RDP.
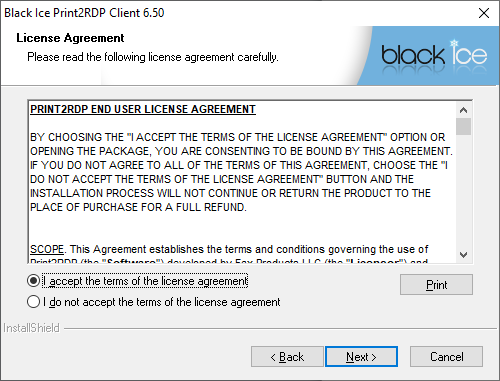
Read and accept the License Agreement and click Next.
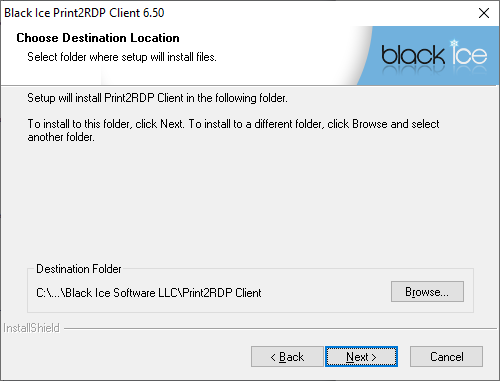
Use the default location or choose a directory to install Print2RDP to by clicking the Browse… button and selecting a directory, and click Next.
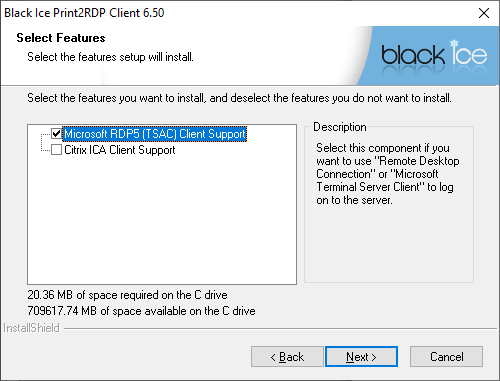
Choose the appropriate options in the Select Features window and click Next.
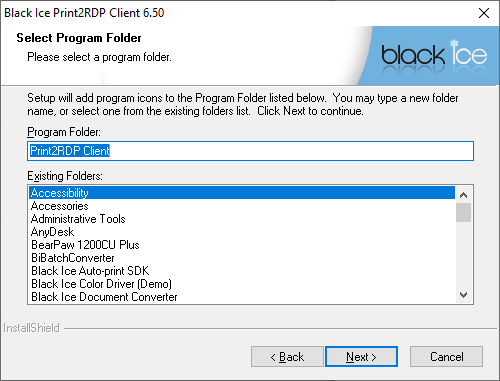
Choose a different Program Folder or choose the default folder by not making any changes. Click Next.
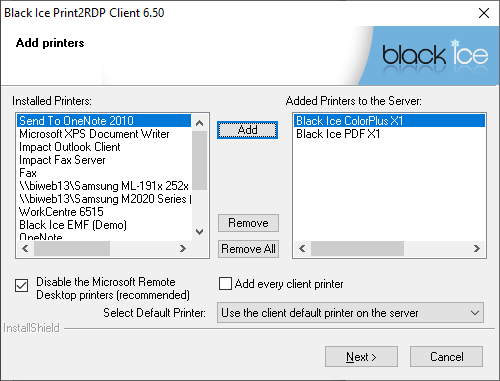
Add the local printers you would like to mount to the server. The printers moved to the right column will be mounted by Print2RDP when connecting to the server.
The selected default printer will be added to the server as the default printer in the session when connecting to Print2RDP Server.
If the Disable the Microsoft Remote Desktop printers checkbox is enabled, then the installer will disable the Microsoft RDP printer attaching on the system.
If the Add every client printer checkbox is enabled, then every client printer will be attached to the server.
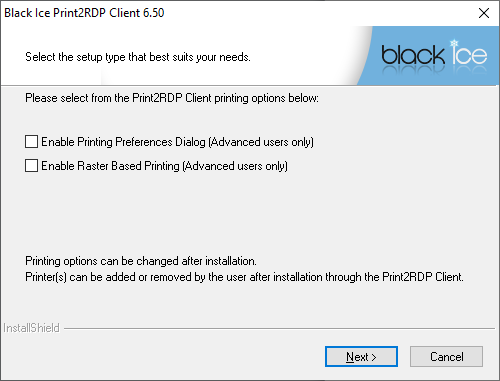
Select from the Client printing options:
- When the Enable Printing Preferences Dialog option is checked, every time a document is printed, the local printer driver preferences window appears to choose or modify any options on the local driver before actually printing to it. This option is useful to change the output paper tray or other advanced options provided by the printer driver.
- When the Enable Raster Based Printing option is checked, the Print2RDP sends the printed document to the printer as a raster image (made up of pixels) instead of vectorized data. This feature is added for compatibility with a few applications that output their printing data in a way that gets corrupted when being sent through the network. Checking Enable Raster Based Printing solves such issues at the cost of printing speed.
Print2RDP installs and then the Wizard Complete dialog appears. Press Finish to complete the installation.
