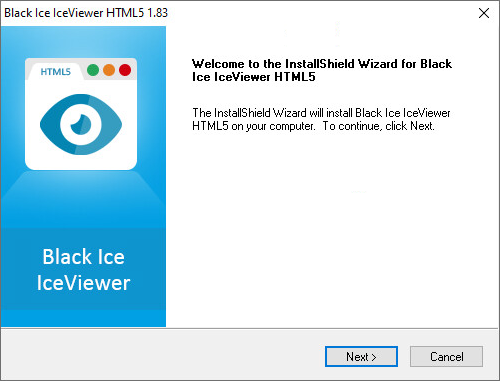
To start the installation double click on the file that was downloaded.
To install IceViewer HTML5, follow the onscreen instructions of the InstallShield Wizard:
Click Next button to continue.
In case the installer displays an error message about missing requirements to Server, please refer to the Installing IceViewer HTML5 Requirements on Windows Serversection.
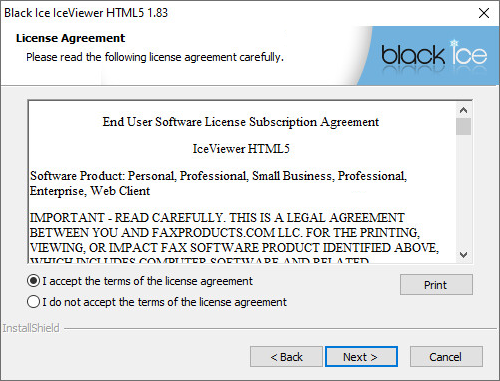
Accept the license agreement, and Click Next to continue.
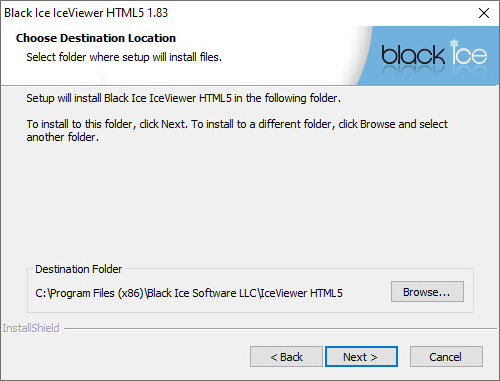
The default destination location is Program files\Black Ice Software LLC\. On the next screen the Program folder can be selected.
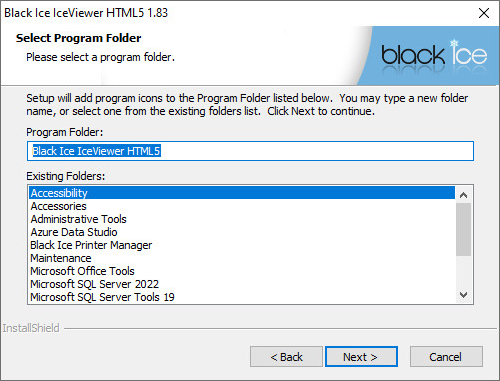
The user can specify the name of the Program Folder that IceViewer HTML5 will be listed under. Click Next to continue.
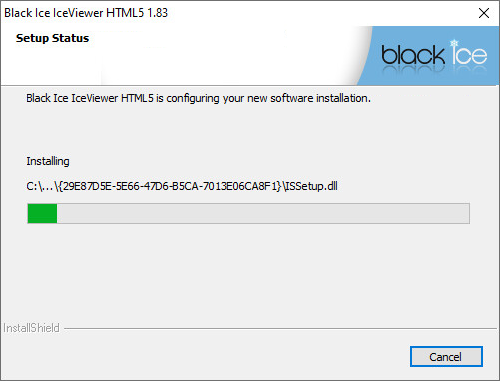
Setup will now copy the program files to the computer.
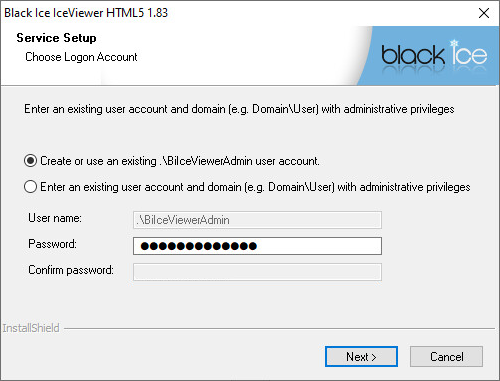
On the Service Setup screen of the installation, one must create or specify an already existing administrator account to run the IceViewer HTML5 Web Application.
Select Create or use an existing .\BiIceViewerAdmin user account option if you would like to create a new user account for the IceViewer HTML5, or if the BiIceViewerAdmin account already exists, and enter the password.
Select Enter an existing user account option for specifying another user account than BiIceViewerAdmin.
The following window appears where one can install the Web Interface:
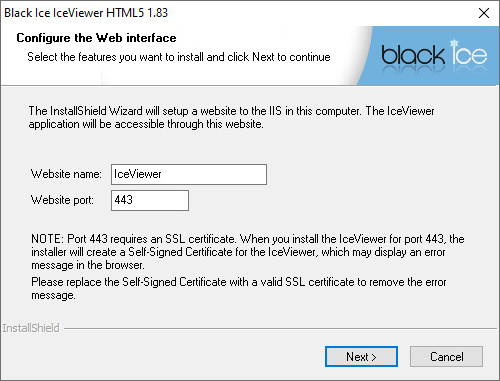
The Website name will be the newly created website’s name in the IIS. The website name can be maximum 64 characters.
The Website port will be the default binding associated with the website. For example: If you use 808 as Website Port, then the website will accessible through the following URL: http://serveripaddress:808
The port number can be between 0 and 65536.
In case the installer displays an error message about missing requirements to Server, please refer to the Installing IceViewer HTML5 Requirements on Windows Server section.
Click on the Next button to continue.
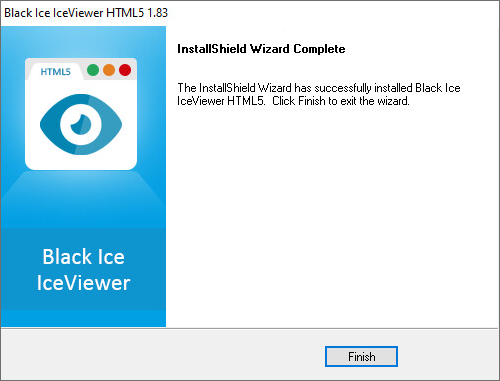
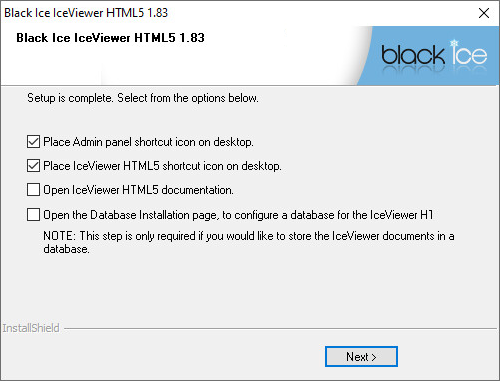
The installation is complete. Click Finish to close InstallShield Wizard. The install will automatically register the product as demo. The demo version can be used for 15 days.