In IceViewer HTML5, one can change their personalized settings by clicking on the Options button.
The set of these settings are also called Session Configurations, that can be used to specify the behavior of IceViewer HTML5 for the viewing session, for example specify the startup View Mode. For more information, please refer to the Open Documents using URL parameters section.
Under Options menu, there are five sections:
General
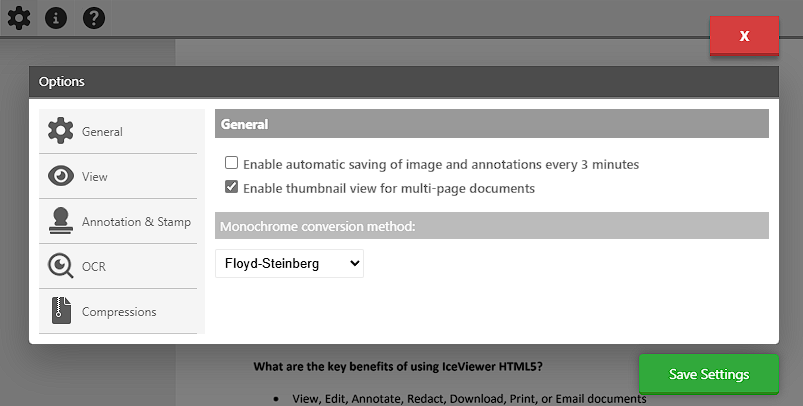
Enable automatic saving option will automatically save the document in every 3 minutes.
Enable thumbnail view option will display a thumbnail view on the left side of IceViewer HTML5. This feature makes navigating between the pages more comfortable.
Monochrome conversion method defines the default method to convert monochrome (black and white) documents.
View
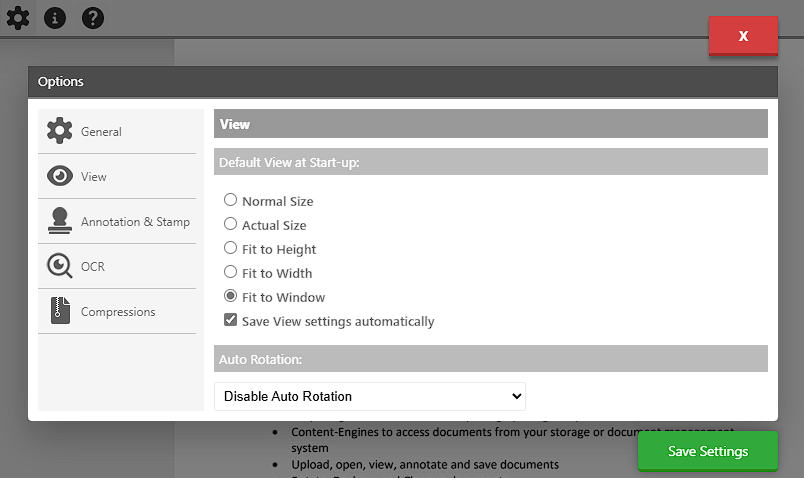
Default View at Start-up option defines which view mode will be automatically applied to the opened documents.
Auto Rotation feature will automatically rotate the opened document.
Annotation and Stamp
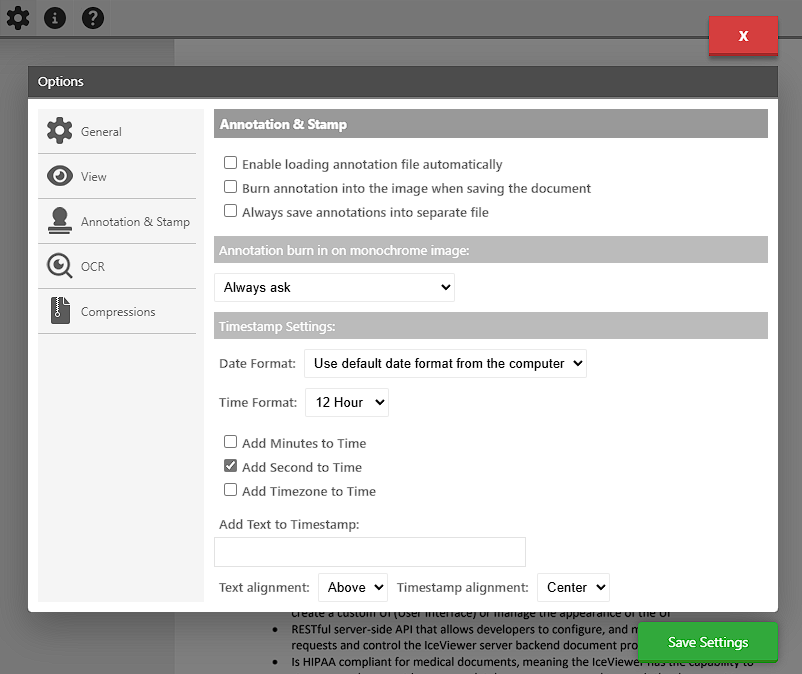
Enable loading annotation file automatically option allows IceViewer HTML5 to automatically load the annotations from an Annotation file next to the document.
· In case of database document, the annotations from the Attachments table will be loaded.
· In case of local documents, the annotations from the ANN file next to the document will be loaded.
Burn annotation into the image when saving the document option will automatically burn the annotations into the document, when saving.
Always save annotations into separate file option will save the annotations into a separate file.
· In case of database document, the annotations will be saved into the Attachments table.
· In case of local documents, the annotations will be saved to an ANN file next to the document.
Timestamp Settings
Under Timestamp Settings option one can configure the appearance of the timestamp annotation.
Date: In this section, users have 7 options (in the example the date is 28th February 2025):
Use default date format from the computer (default)
· MM/DD/YYYY (02/28/2025)
· M/D/YY (2/28/25)
· YYYY/MM/DD (2025/02/28)
· DD/MM/YYYY (28/02/2025)
· DD-MON-YYYY (28-FEB-2025)
· Julian Date (2458026)
Time Format
With this option users can configure whether they want to use a 12- or 24-hour time formatting. One can also choose if they want to add the minutes and seconds on the timestamp, or even the used computer’s time zone. Users can also opt out of this function by unchecking the checkbox. (By default, the 12-hour time format with minutes and seconds is selected)
Add Text to the Timestamp
One can add additional text to the timestamp, and configure the place and align of the text.
OCR
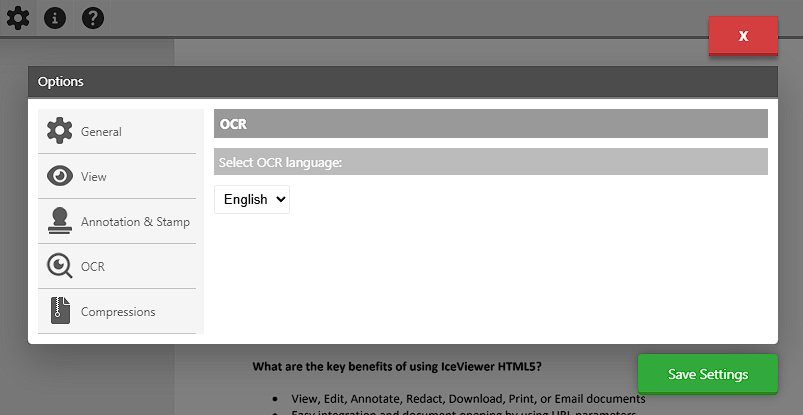
Under Select OCR language dropdown, one can select the language of the OCR.
Compressions
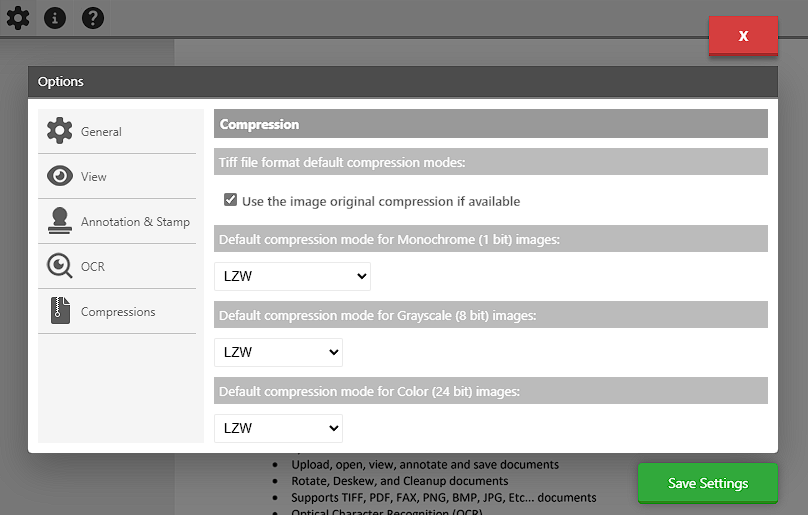
Use the image original compression if available option will attempt to save the document in the same compression as the document was saved originally.
One also can define the Default compression modes for Monochrome, Grayscale and Color documents.