Black Ice Software - Online tutorials
Print2RDP - MSI Active Directory Deployment (Modified Parameters)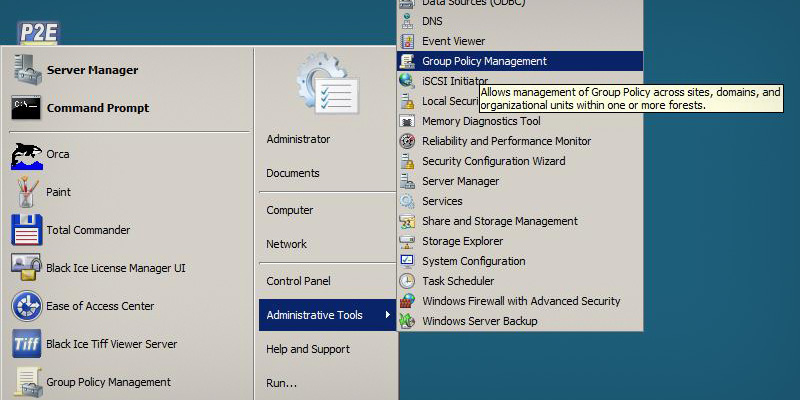

and the folder has the appropriate rights.
An existing transformation is needed to complete this tutorial.
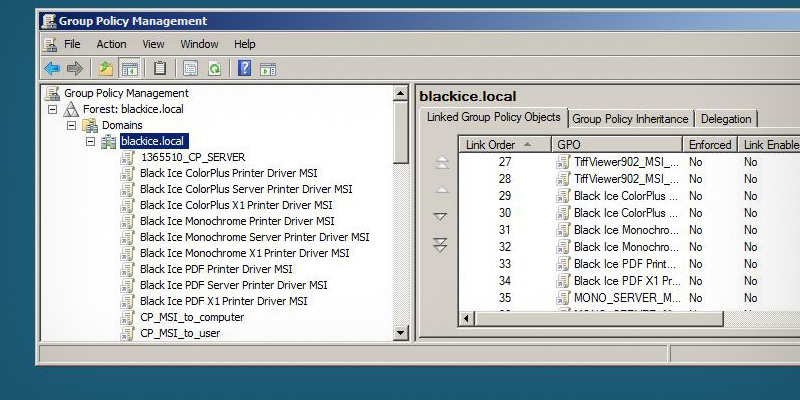
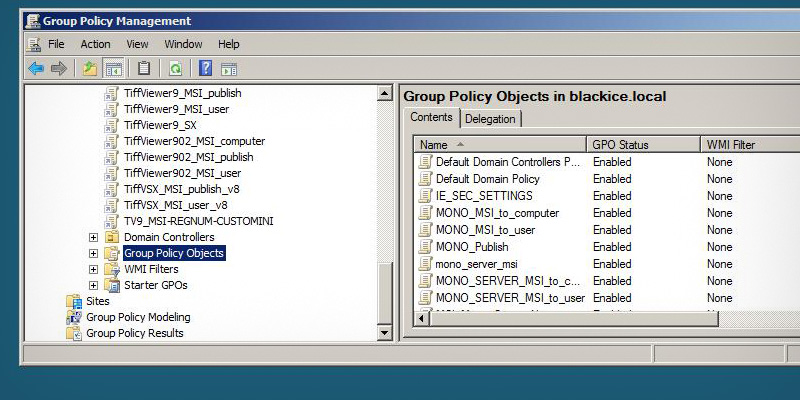
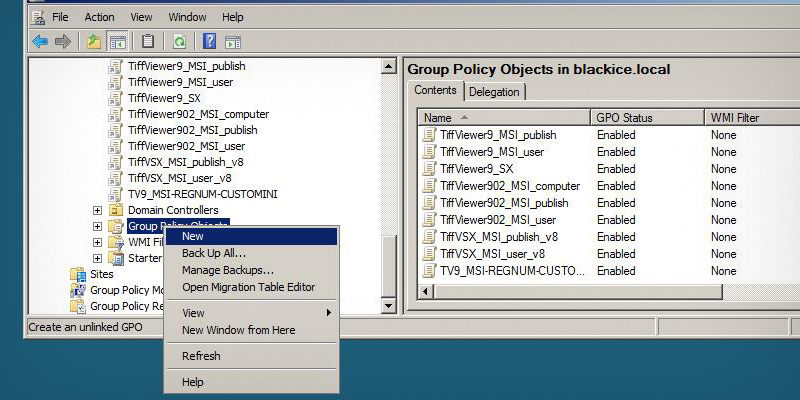
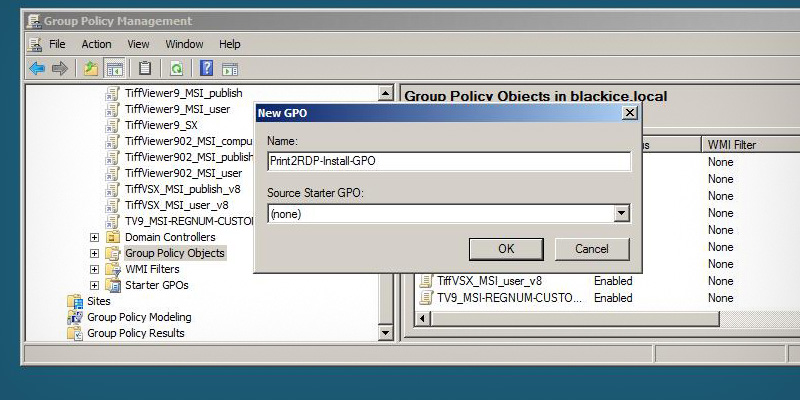
New transformation file can be created easily following our How to use MSI Client Install documentation. Go to the Start > Administrative Tools > Group Policy Management. In the Group Policy Management, expand the Forest and Domain. Select the Group Policy Object category. Right click on the Group Policy Object category, and click New. Enter the name of the new Group Policy Object, and click Ok to create the new object.
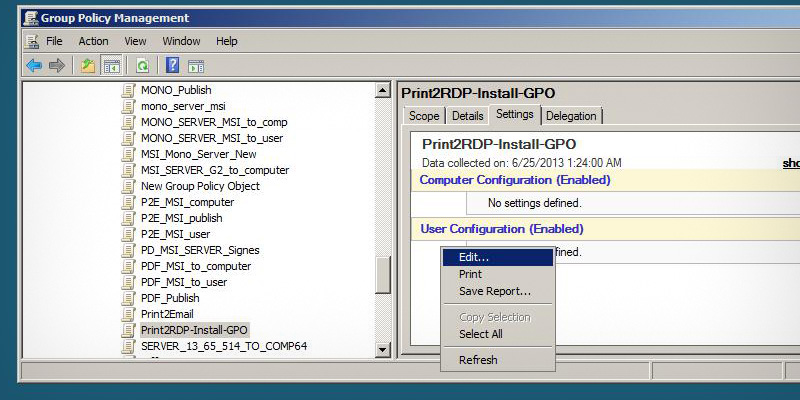
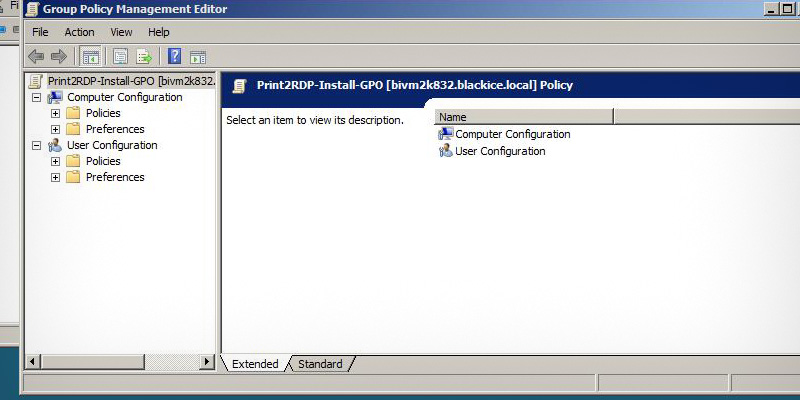
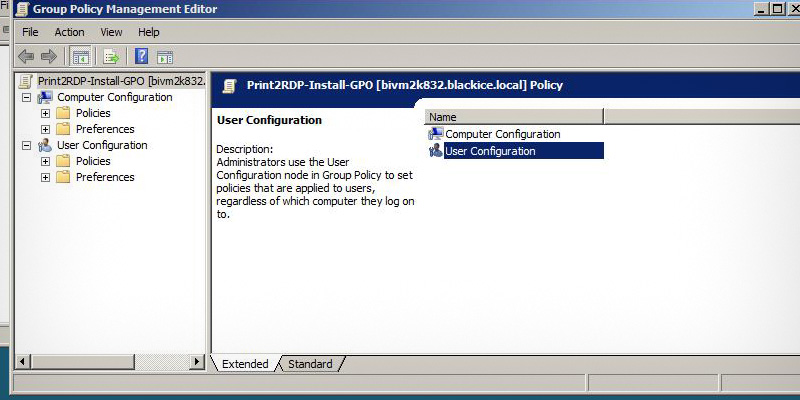
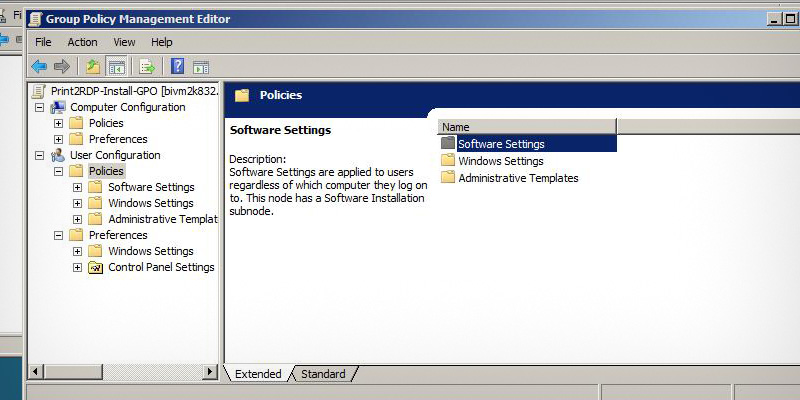
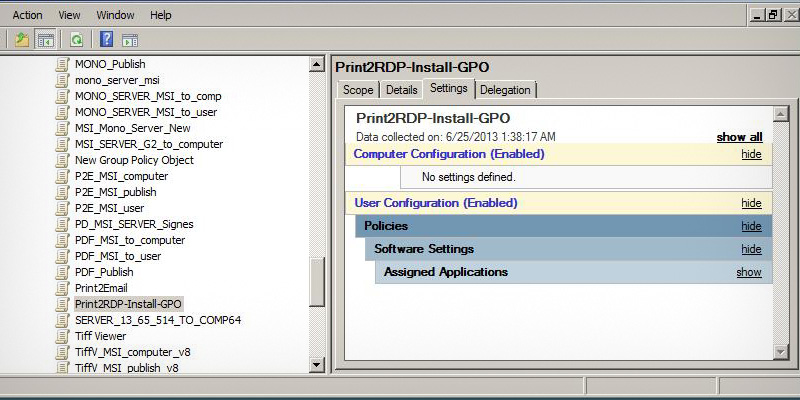
When finished, double click on the created Group Policy Object. In the selected Group Policy Object, click on the Settings tab, right click on the panel and select the Edit. The Group Policy Management Editor opens. The Administrator can assign the deployable product for users or computers in the domain.
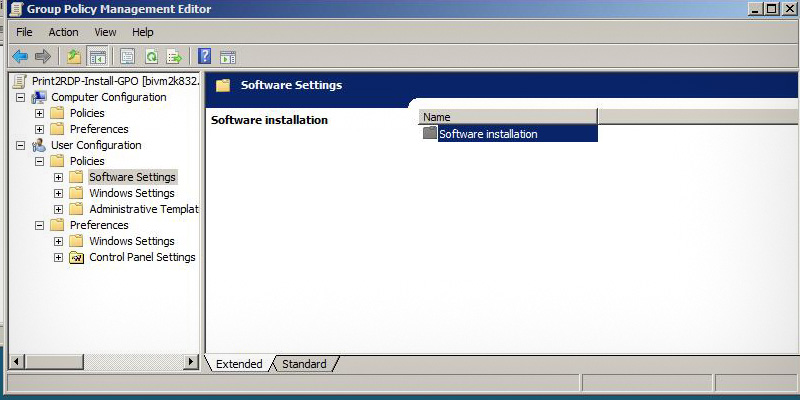
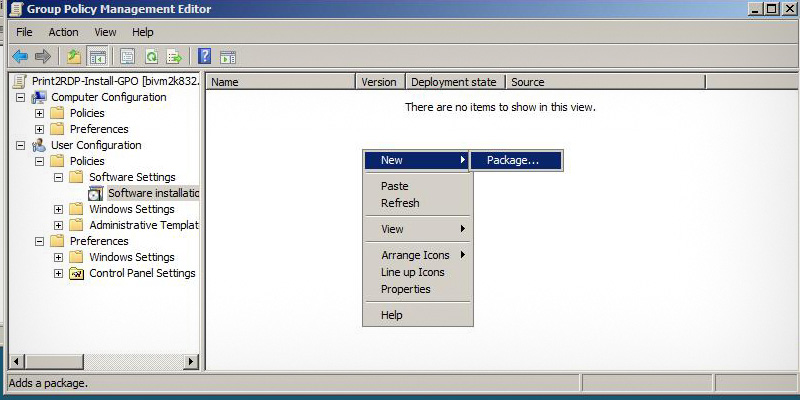
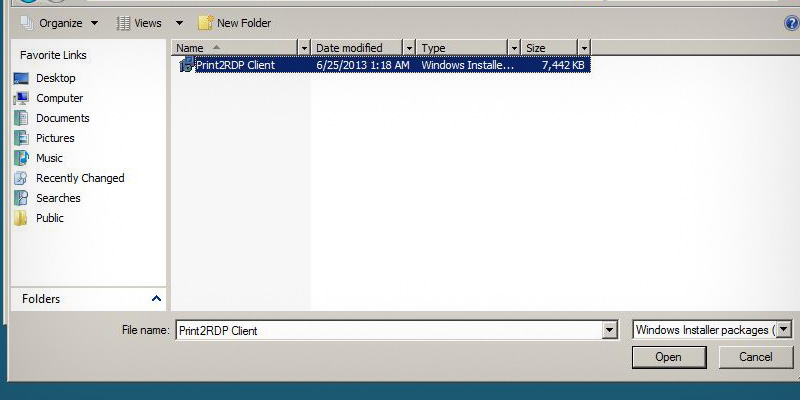
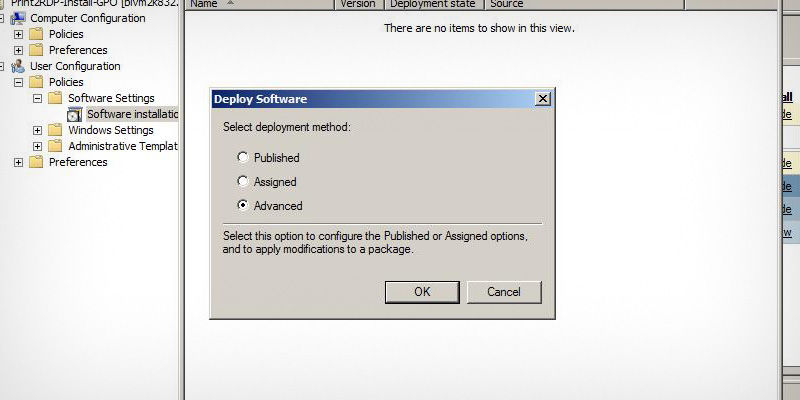
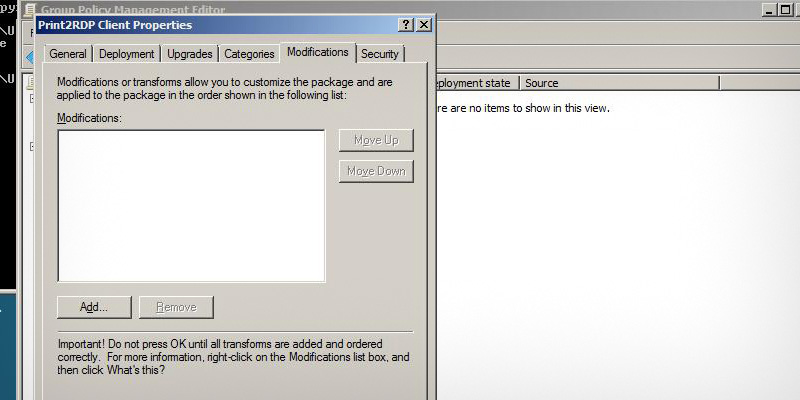
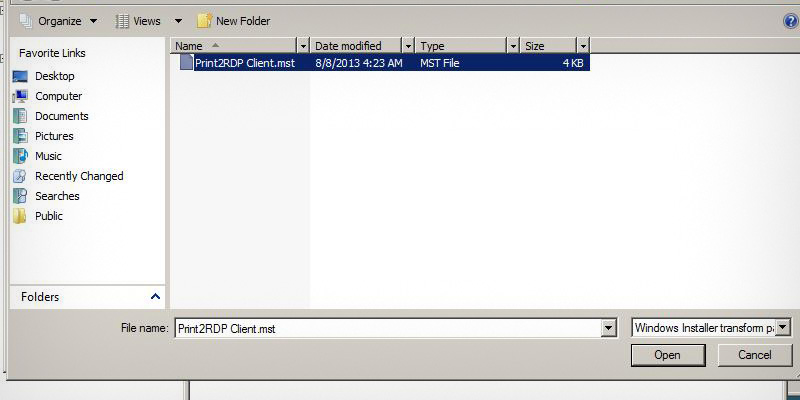
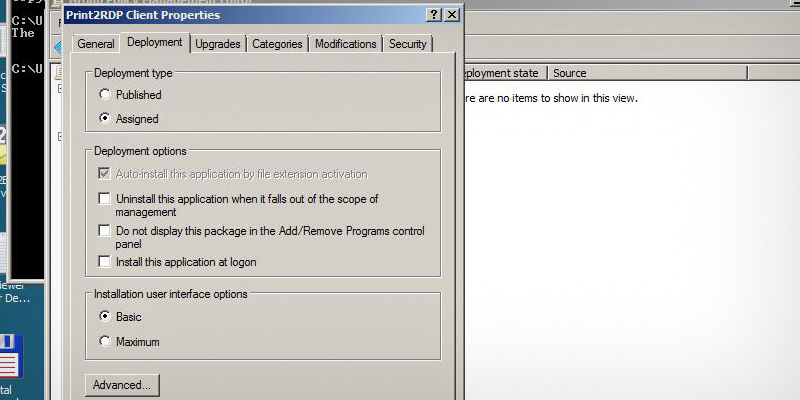
Now the product will be assigned to a User. Double click on the User Configuration item. Double click on the Policies item. Double click on the Software Settings item. Double click on the Software installation item. Right click on the Software installation panel, and select New > Package... Browse the distribution point folder, select the MSI package and click Open. Select Advanced, and OK. In the Properties, go to the Modifications tab, and click on Add button. Browse the folder where the transformation file is located. Select the file, and click the Open buton. In the Properties, go to the Deployment tab, and select the Assigned at the Deployment type area, and basic at the Installation user interface options area.
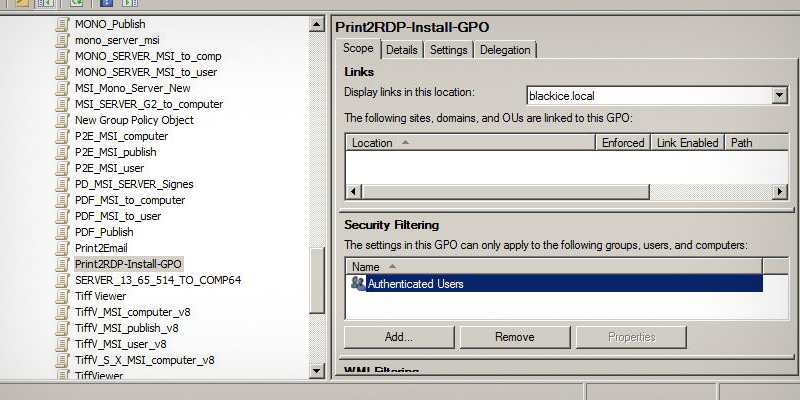
Click Ok when finished, and close the GPO Editor. In the Group Policy Management, select Scope tab. Under the Scope tab, the Authenticated Users group applies to every user who logs in.
In this case it will only be deployed to one user.
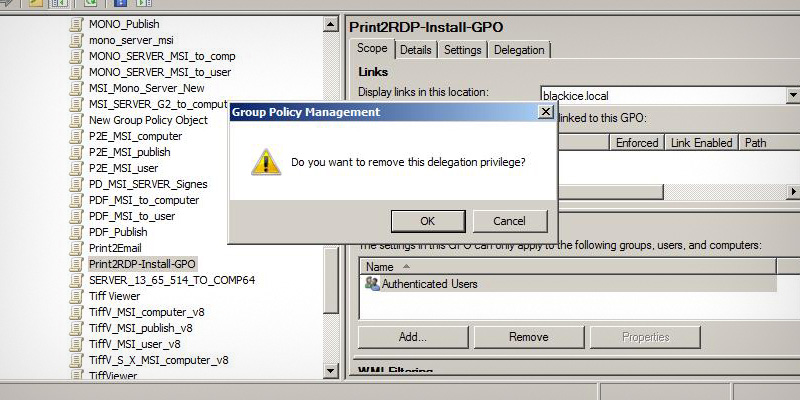
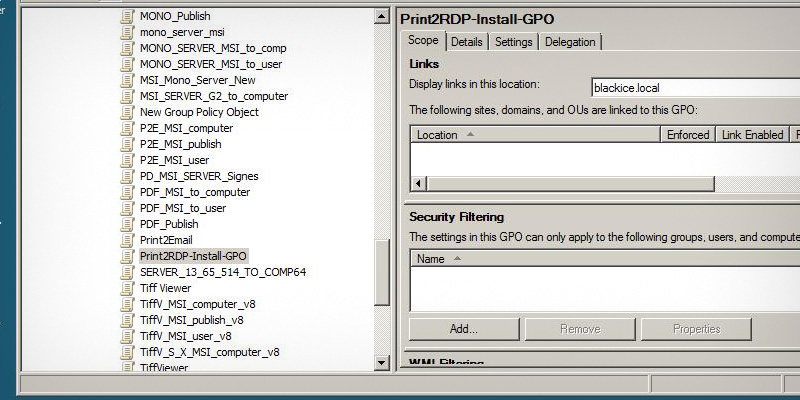
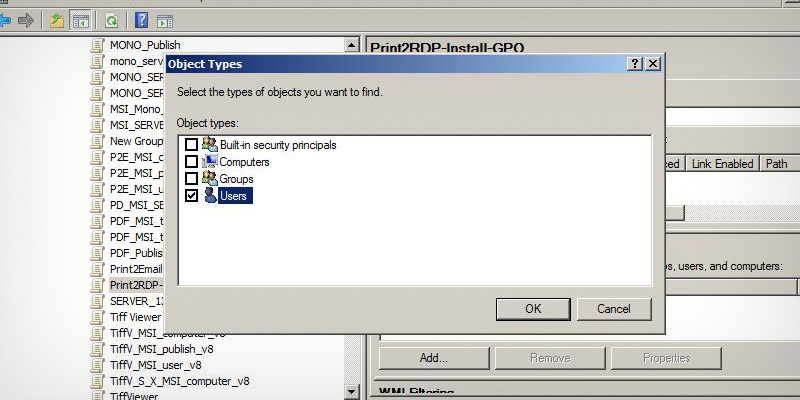
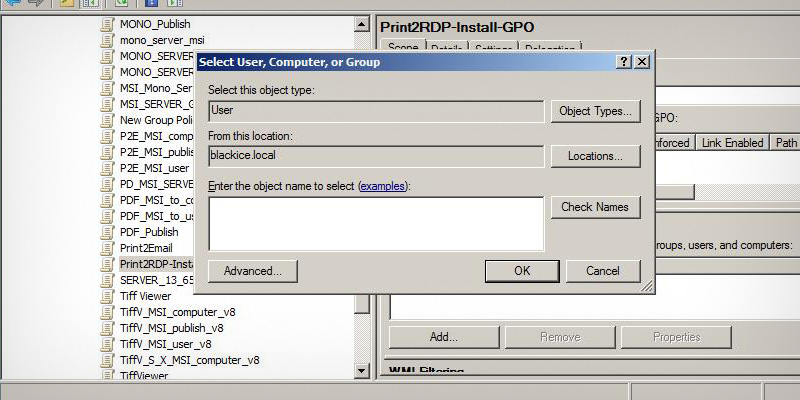
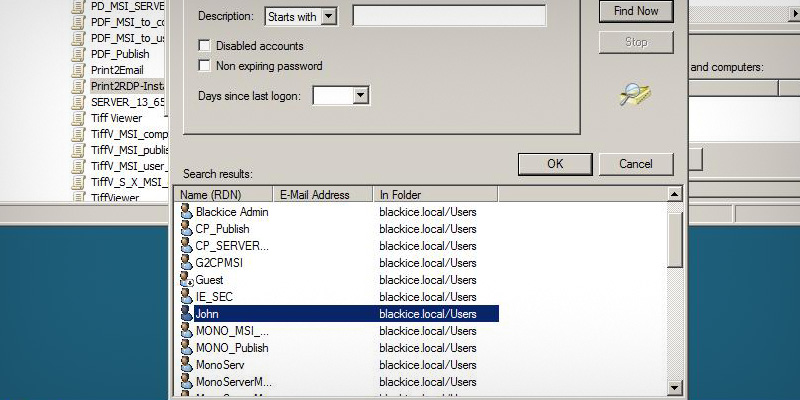
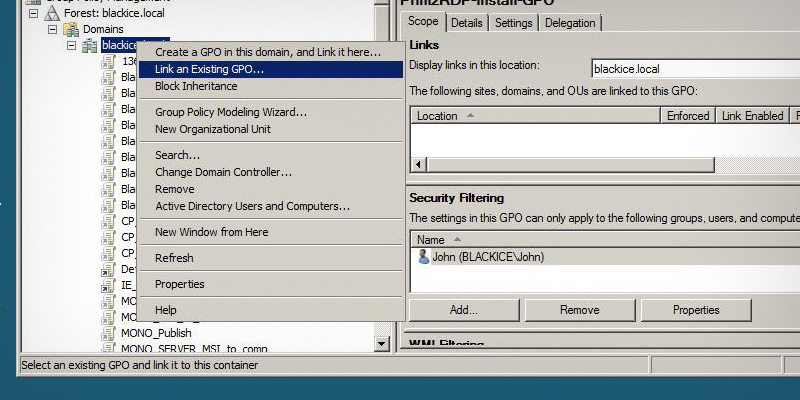
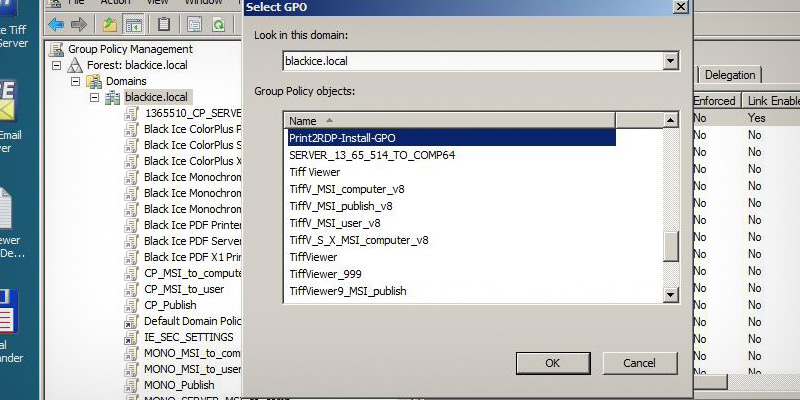
Select Authenticated Users and click on Remove. Click OK. Click Add... button to add users. Check only the Users, and click Ok. Click on the Advanced... button. Click Find Now button, and select the users to add. When finished, go back to the Group Policy Management. The Administrator need to link this GPO to a domain. Right click on the domain, and select Link and Existing GPO... Select the Group Policy Object, click OK, and the Group Policy Object has been configured.
The product will be deployed when the user logs in.
Thank you for using Black Ice Print2RDP. Click here to go back to the Tutorials.