Black Ice Software - Online tutorials
Print2RDP - Installing Print2RDP Client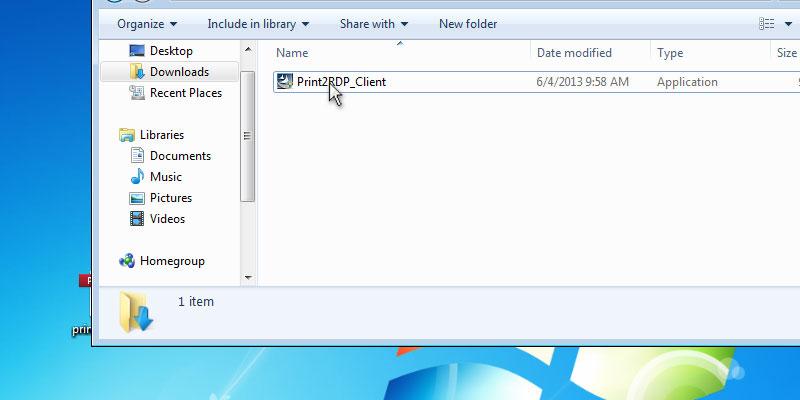

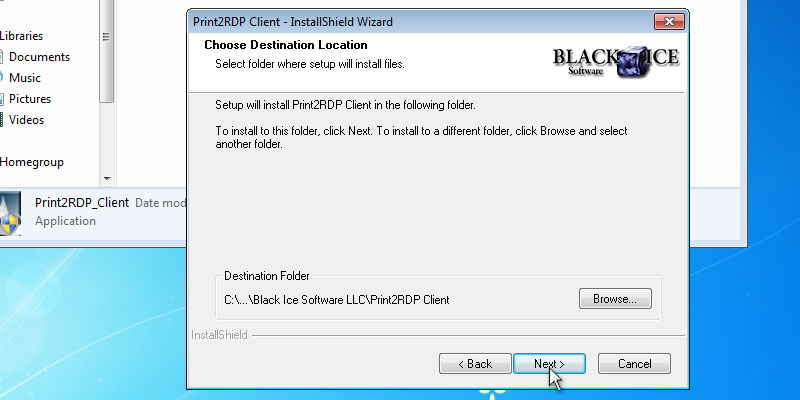

Press 'Next' to continue. Select the installation directory of the Print2RDP or use the default destination folder.
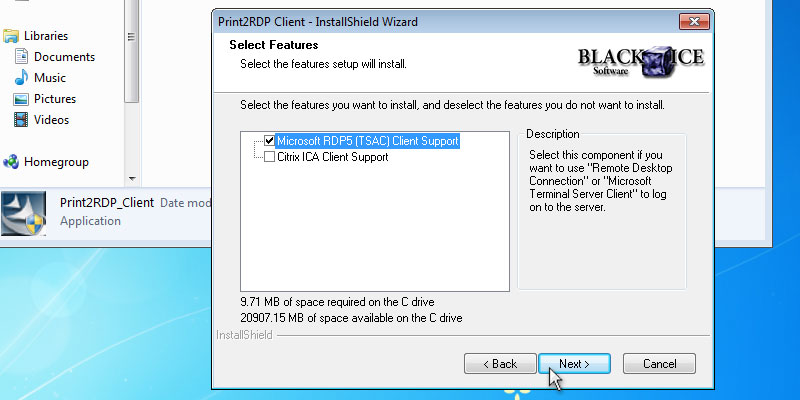
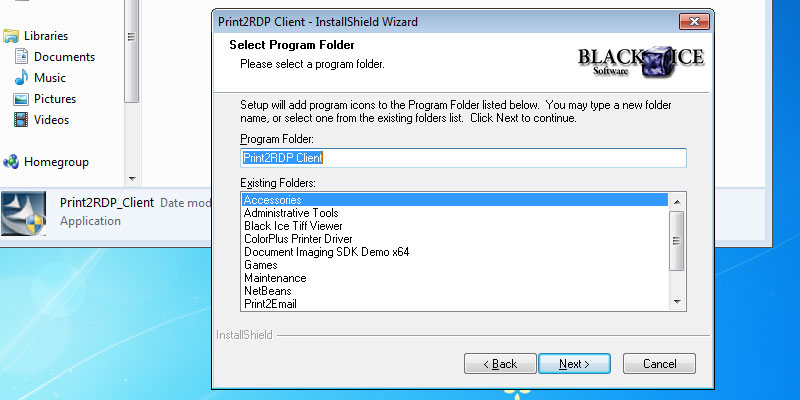
Press 'Next' to continue. The Select Components dialog will appear. Choose the appropriate options and click Next. Specify the desired name for Print2RDP to appear under Start > Programs or use the default settings.
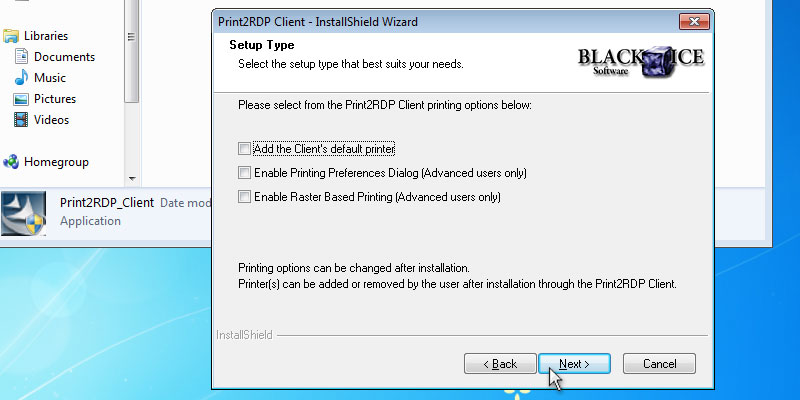
Press 'Next' to continue. Select from the Client printing options.
Add the client's default printer; The users local default printer will be added to the Print2RDP Client printer list.
Enable Printing Preferences Dialog; When a document is printed the local printer driver preferences window will appear.
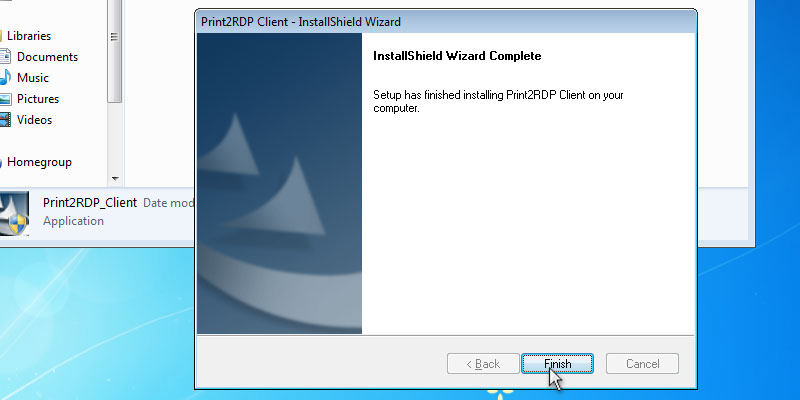
Enable Raster Based Printing; Print2RDP sends the printed document to the printer as a raster image instead of vectorized data. Print2RDP will install and then the Wizard Complete dialog will appear. Thank you for using Black Ice Print2RDP. Click here to go back to the Tutorials.