This section contains information about how to Install the Auto-print Multi-Threaded Service C# Sample. To Install C# Service Sample application please follow the instructions below.
To simply install and try the sample from the Auto-print SDK, jump to step 3 in the instructions below.
1. Compile the sample and copy the compiled sample into the following directory:
<Auto-print SDK Installation folder>\<Auto-print 32/64 bit>\Samples
NOTE: For redistributing the Auto-print Multi-Threaded Service sample, please see the necessary files in Redistribution files of Auto-print Multi-Threaded Service C# Sample section.
2. Configure the Auto-print Multi-Threaded Service sample based on the Configuring the Auto-print Multi-Threaded Service C# Sample section.
3. Installation of the Auto-print Multi-Threaded service sample
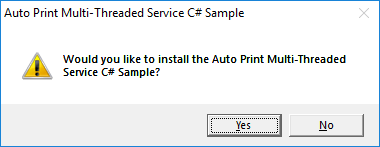
Double click to "Auto-print Multi-Threaded Service C# Sample.exe" and install "Auto-print Threaded Service C# Sample" service
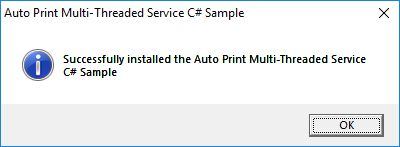
Wait for "Successful installed..." window and click "OK" button
4. Starting the sample
Create the Monitored directory specified in the Auto Print Multi-Threaded Service C# Sample.ini, and copy the files into the input directory you would like to convert.
After the Monitored folder is created and the service is installed go the Microsoft Services app from Control Panel > Administrative Tools > Services > right click on the Auto Print Multi-Threaded Service > Properties > Log On tab > Configure the Administrator account > Click on Apply and Ok.
|
The Auto-print Multi-Threaded service must run under a local administrator account who already once logged in on the computer. The Auto-print Multi-Threaded service cannot run under system account. |

In the Services Window, select Auto Print Multi-Threaded Service and Click on Start Service button.
Another option to start the service is by using command line. After the Administrator account is configured for the Auto Print Multi-Threaded Service in Microsoft Services, you can start the Auto Print Multi-Threaded Service by opening a command line as Administrator and type the following command, to start the service:
net start "Auto Print Multi-Threaded Service C# Sample"
5. The Auto Print Multi-Threaded Service Sample will convert the files automatically into the configured output directory.
The Auto-print Multi-Threaded Service will use converter settings (file format, page size, etc.) from the Black Ice Printer Driver, specified in the Auto Print Multi-Threaded Service C# Sample.ini file.
The log file will be generated in the directory specified in the INI file.
NOTE: The Microsoft Office must be registered on the system, to print MS Word, Excel, PowerPoint, Visio, TXT files with Auto-print.
Save As window, Open Output folder and Group file generation restrictions
The Auto Print Multi-Threaded samples does not allows Save As window pop up during the conversion, Open Output Feature, and Group file generation even if it’s configured in the Black Ice Printer Driver used for conversion.