
A default printer can be specified in the Print2RDP Client Properties window. This printer setting does not change the default printer of the local machine or the terminal server. However, when logged into the terminal server, the client uses the printer specified on the server as the default printer for their terminal server session.
To select a default printer, simply use the drop-down list to choose a printer and click OK to save the changes.
Once the default printer is selected in Print2RDP Client, connect to the Print2RDP Terminal Server.
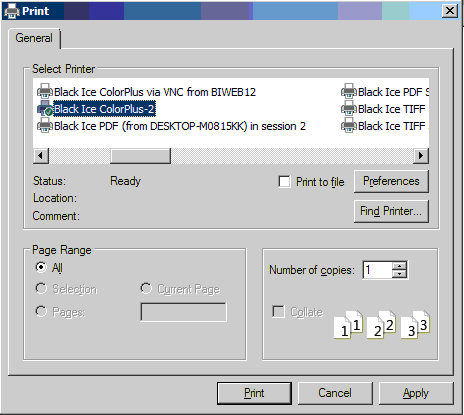
The local printer(s) selected in Print2RDP appear amongst the server’s printers and the selected printer becomes the default printer.
NOTE: If one of the printers added to the Server is the default printer for the local user on the client machine, it will be set to be the default on the Server, overriding any default printer that Print2RDP sets. To correct this, one must configure the Default Printer on the Windows Server.
For more information about configuring the Default Printer on the Windows Server, please refer to the Configuring Default Printer on Windows Server section.